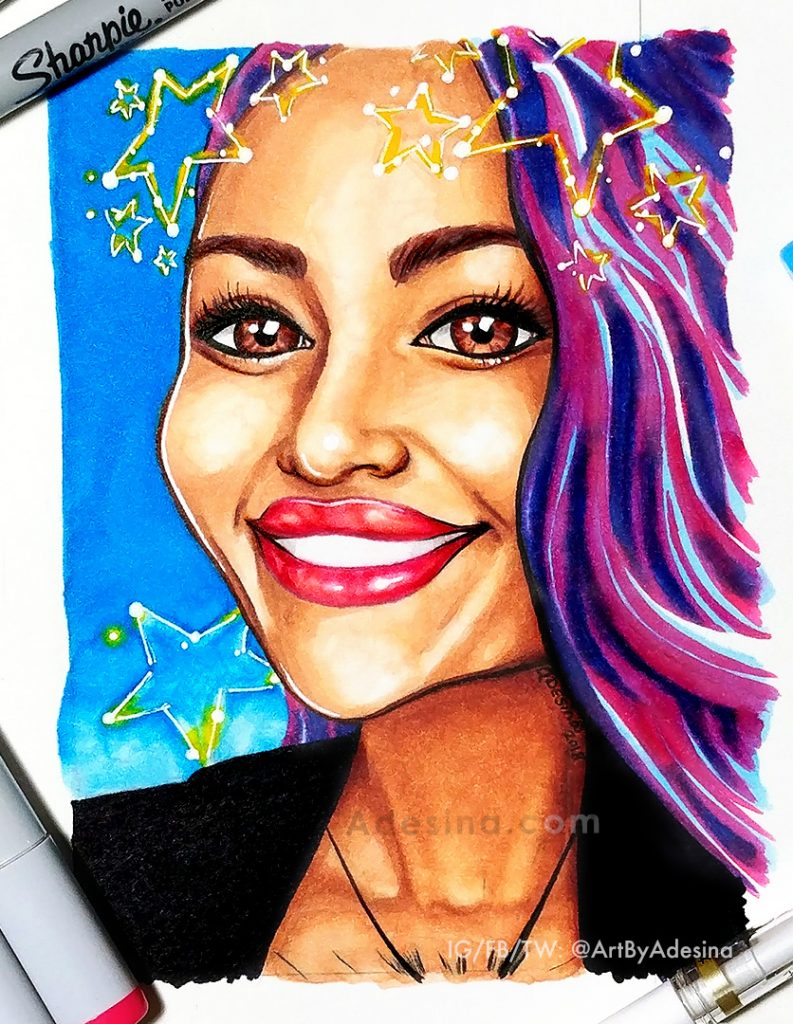
Above drawing: Cartoon Portrait of Star Ruiz by Adesina, 4.5″ x 6.5″. Copic Markers (all colored areas), Sharpie (large black areas), Sumiiro brush pen (black lines), white gel pen (white highlights), & watercolor (gray in eyes & teeth), on heavy weight drawing paper.
So I’ve been meaning to try out Copic Markers for the longest, and I bought a couple packs a few weeks ago, but I didn’t have a chance to open them up until now.
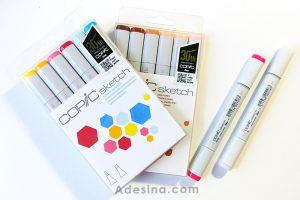
Copic Sketch marker sets – aren’t they beautiful? 😀
Well was I in for a treat! These markers are so much fun to use; nothing like the regular markers we all played with as kids. First, they blend really well – if you color in an area all at once, you get almost no streaking, and if you layer a light color right next to a dark color that is still somewhat wet, you can blend the edges together to create an almost watercolor effect.
In fact, that’s what I would compare them the most to: watercolors. Like watercolor, they also bleed through regular paper. I used pretty heavy drawing paper for my drawing, but the next page in my sketchbook still had lots of bleed through on it, so next time I will put a piece of scrap paper in between. Also, I noticed that any area you color bleeds a bit into the adjacent areas, especially if you are heavy handed, so in future I will not color right to the edge of my lines, but instead I will stop maybe a millimeter away, and let the bleed carry the color to the edge.
 Also, I discovered a few things about the colorless blender. I thought it was something I could use similar to the way you use the colorless blender pencil with Prismacolors: layer two colors one on top of the other, or side by side, and then rub the blender on top to make them one solid hue, or to create a seamless transition. Nope. The markers themselves actually naturally blend on their own. Layer colors one on top of the other and they will create a new color (and not always the color you anticipate either, so test it on scrap first lol), and as I said before, if you use one color right next to another that is still wet, they will also bleed into each other naturally.
The colorless blender is actually more like an eraser of sorts. You can use it the same way you would use a clean brush dipped in water, with watercolor. It can lighten colors, and I was even able to use it in order to clean up some edges where the markers bled excessively. But if you are too heavy handed it can also cause the paper to warp, and colors to bleed even more, so be careful.
Timelapse of my drawing:
And, similar to acrylic paints, these markers dry lighter than they go on. Which made it a bit confusing when I was trying to touch up some of the shading on areas that were already dry — it was hard to tell if I was actually making the area darker, or if it just looked darker because it was wet compared to the dry areas. I think in future I will try to only work wet into wet when I am shading, or at the very least, make a mental note of what colors I used where, so that I can either match the color, or pick the right darker color to shade it with.
And finally, I definitely understand now why people buy so many different colors. Although they do blend, the colors they create are not always intuitive and some unexpected results can happen. If you really want a specific color, you need to buy it, because chances are, you won’t be able to mix it perfectly with just the primaries. So I think I’ll invest in a few shades of gray, as well as some secondary colors, next :).
If you want to try out these markers for yourself, here are the ones I bought, below (I think the skin tones are sold out until May, but the primaries are avail now):
Copic Sketch Markers – Perfect Primaries
Copic Sketch Markers – Skin Tones
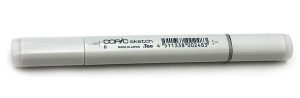
I also bought the colorless blender (Number “0”) and a loose marker, RV25 “Dog Rose Flower” which is a hot pink.
xo,
Adesina

Life has been extremely busy lately (Just see how few updates I’ve made this year!). But yesterday on the train I decided that if that’s all the time I have to draw — sandwiched between irate commuters in a noisy NYC subway car — then so be it.
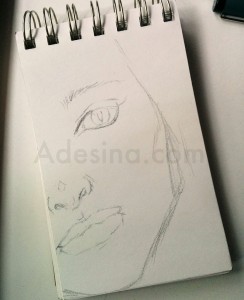
I made the below sketch on a little pad I keep in my bag, and then my stop came and I forgot about it…
Until today, when in the midst of working on a big retouching project for a client, fielding calls regarding a couple of upcoming business trips, and setting up interview shoots for my gaming & tech site (yup, told ya’ I had a lot happening lol), I came across this quote from Martha Graham:
“You are unique, and if that is not fulfilled, then something has been lost.”
It moved me, because here I was, doing so much for everyone else, working on projects that I felt other people would value (and pay me for lol), that it had been weeks since I’d done anything just for myself.
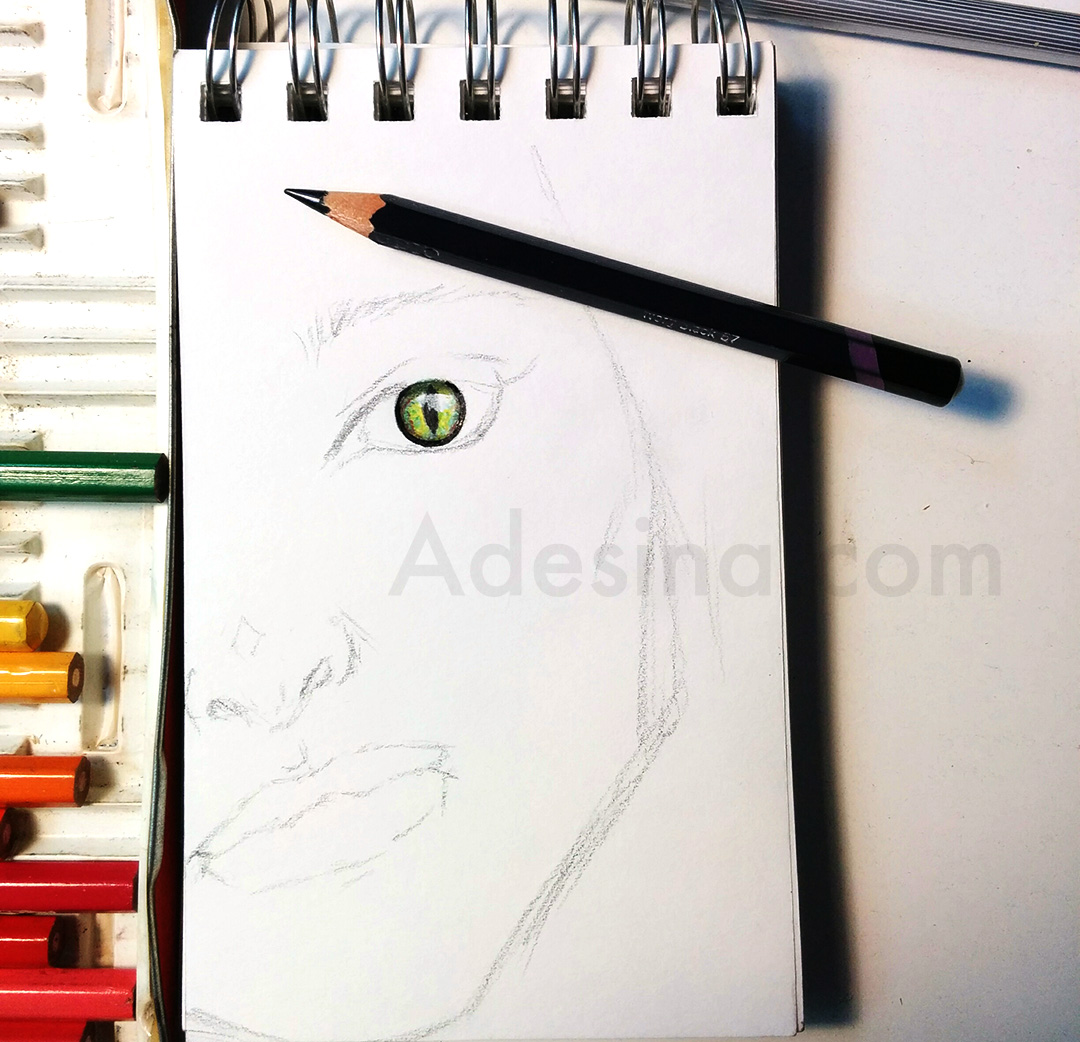
Well I dug out the cat girl I had drawn yesterday, and decided I could take 15 minutes for ME, and I inked her up and colored her in:

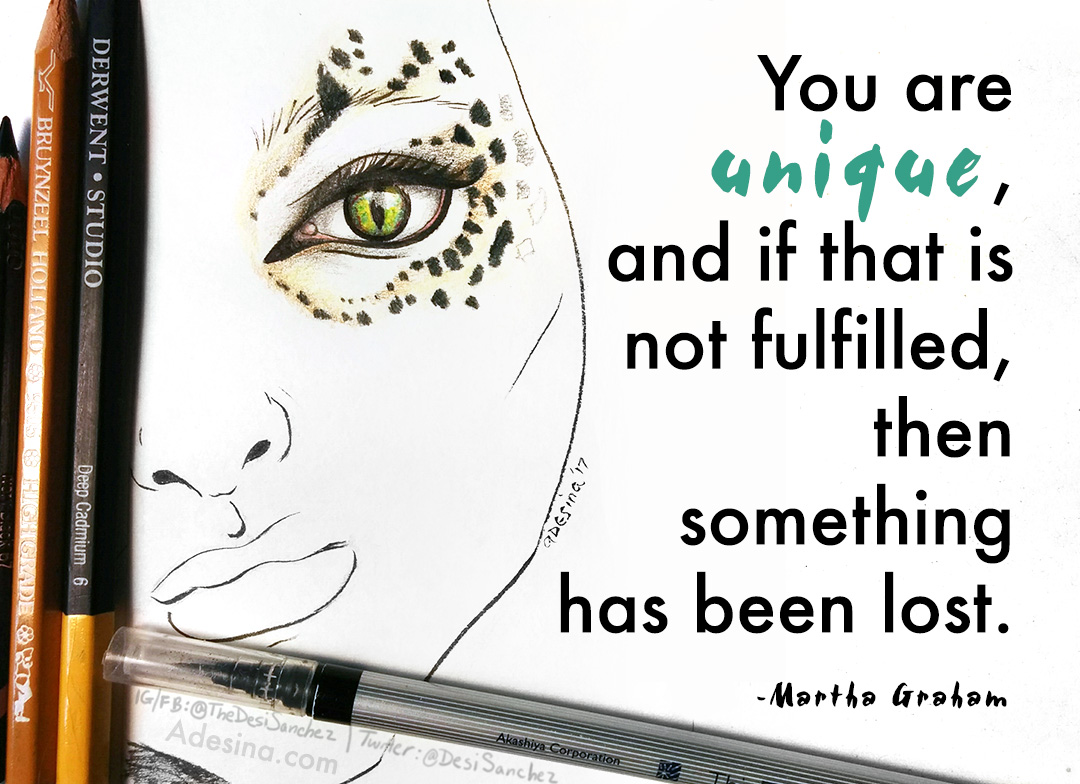
It’s not much; a doodle like this certainly doesn’t live up to my own impossible perfectionist standards for “real art,” but at least I had the guts to do it: Take time out for myself, do something I wanted to do, and then post it up here, for all the world to see and judge.
When I was a little girl, I used to draw cat people all the time. It was my very favorite thing & it made me unique. And now, as a grown-up, I think we could use a little more of our favorite things, and of honoring our uniqueness.
– Adesina
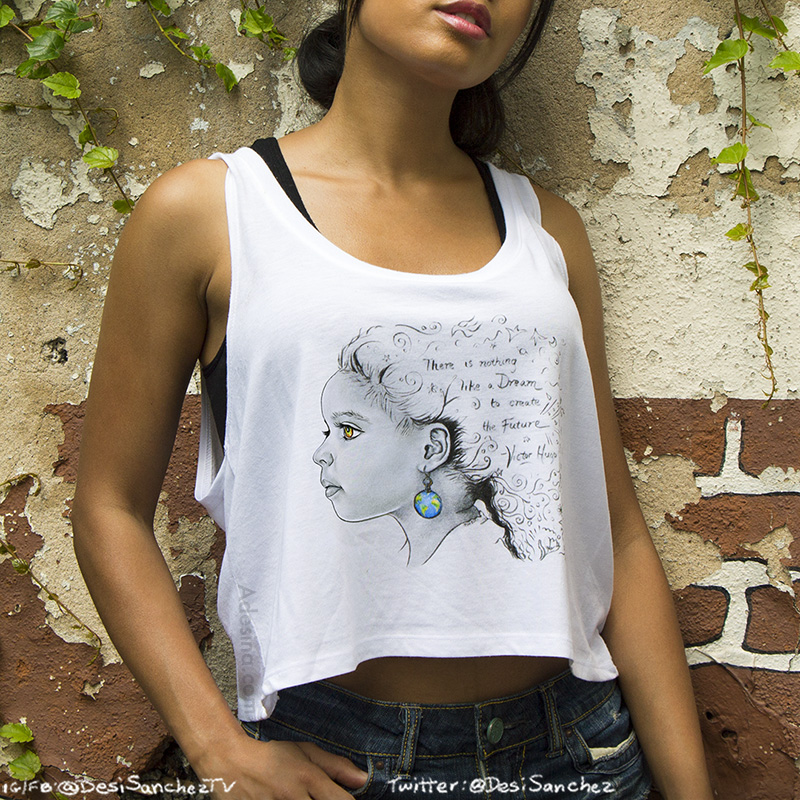
My art is a tee! I’m so thrilled about how well this turned out — I’m going to wear this every day for the rest of the summer! If you’d like one for yourself, they’re on sale here».
Quote: “There is nothing like a Dream to create the Future.” – Victor Hugo

I’ve been painting since I was ten years old, and one of my goals was always to paint as realistically as possible, which meant long, painstaking sessions in oil, watercolor & acrylic.
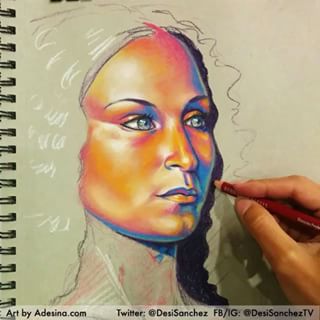
But we live in such a fast-paced world, that I’ve been desiring lately to get my ideas out more quickly, and on a larger scale. So I recently turned to street art for inspiration, and decided to give spray painting a try.
Right off the bat I discovered that spray painting is not as easy as it looks. Instead of small movements of the wrist and fingers, it’s a whole-body process, requiring quick, decisive strokes & a sensitive trigger finger. Moreover, not just any spray paint will do. And did you know that spray paint cans have different sized caps? Well I didn’t either! But I soon learned on my own, and in the process, I think I might have become hooked!
I created a speed-painting video to document the process:
A very different outcome than my usual precise little canvases, but I love it nonetheless! This little lady is finished, and ready to find a new home!
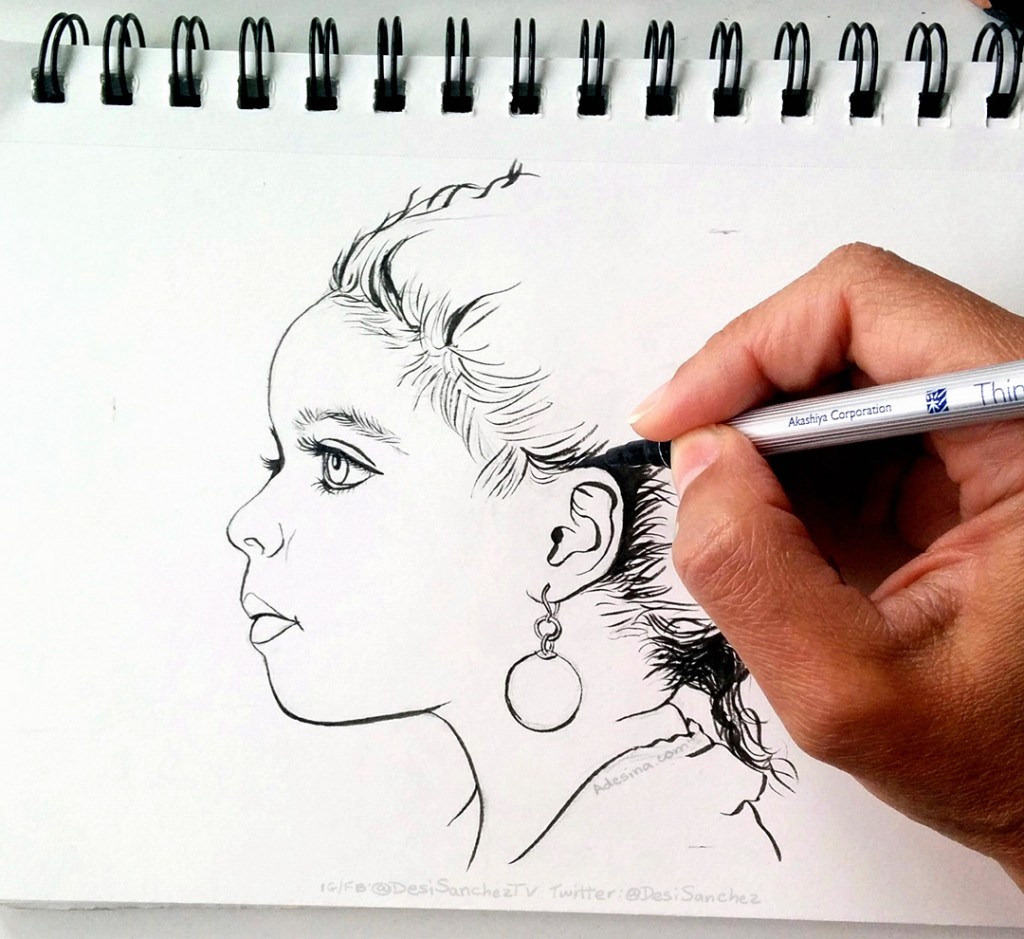
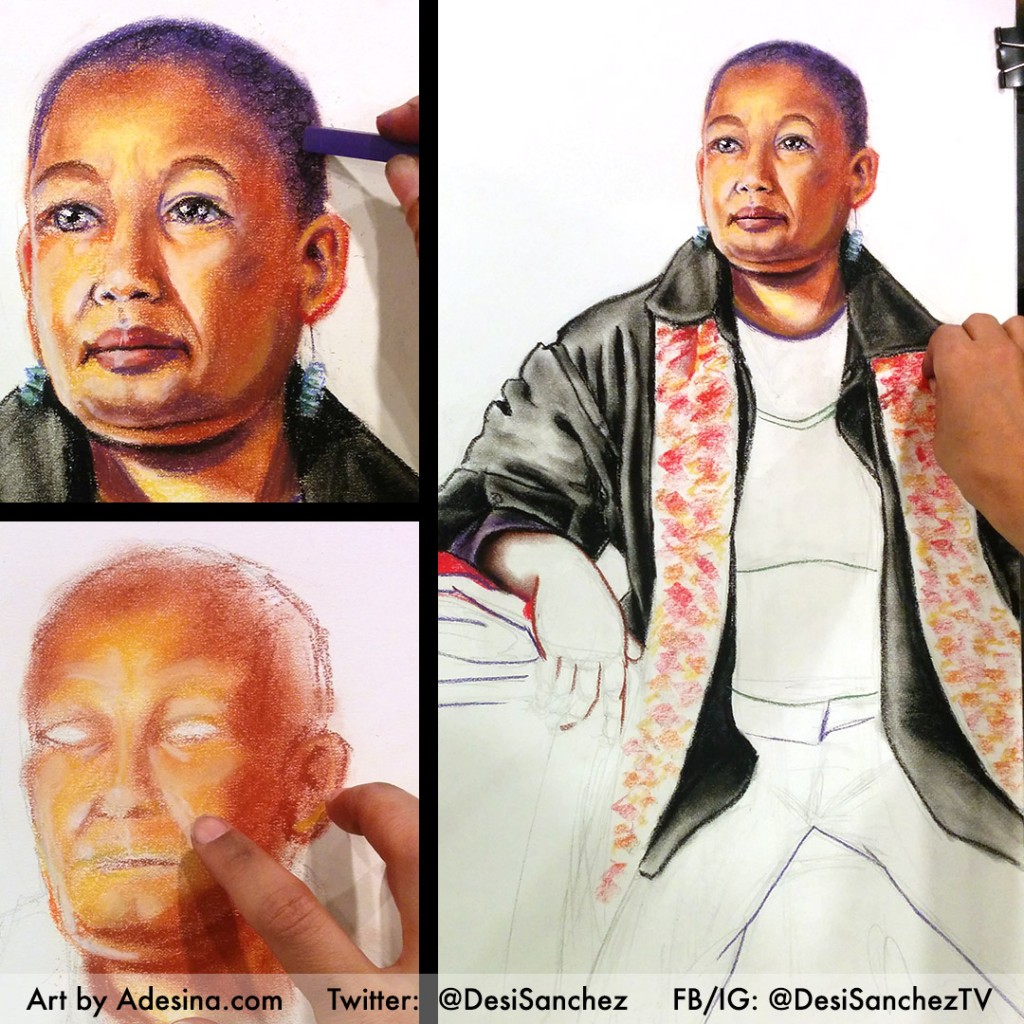
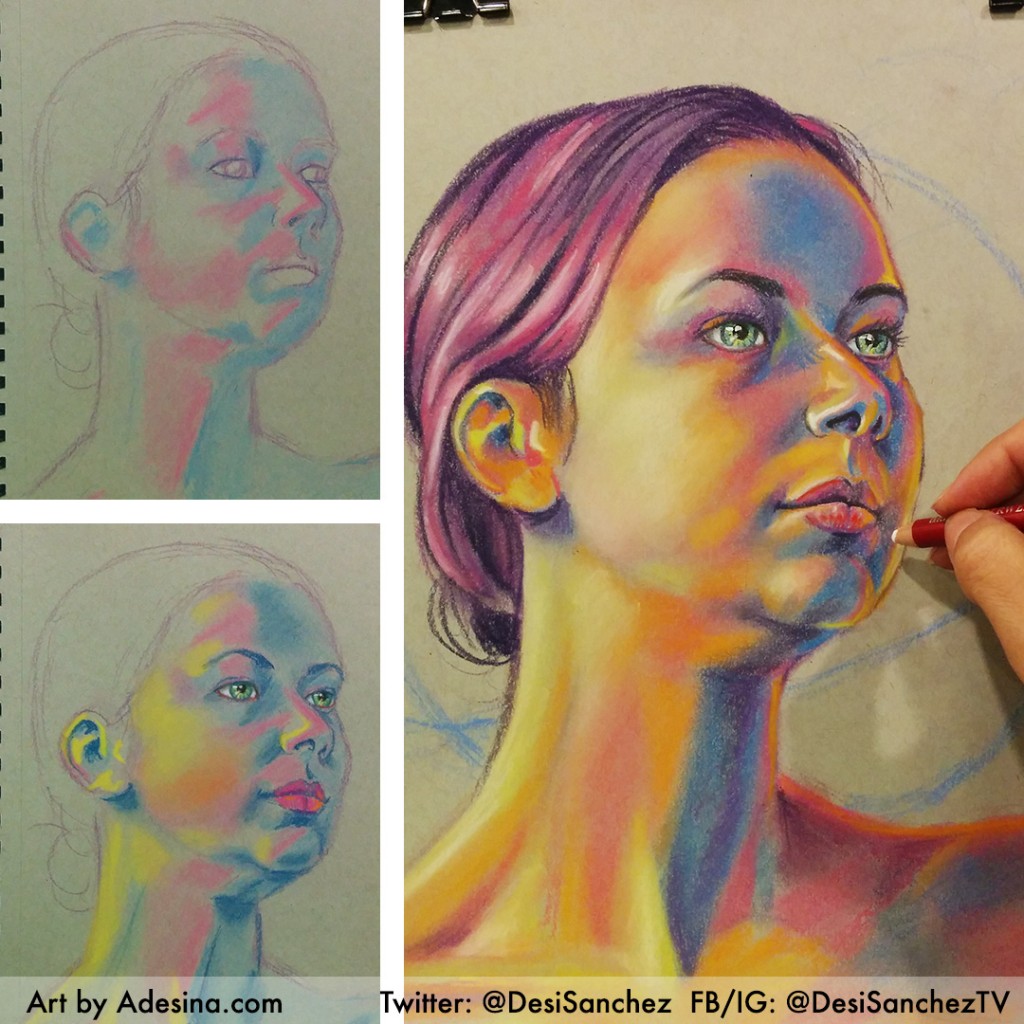
I left my gray-paper sketchbook and pastels pencils at home, so during this session with a live model, I improvised with NuPastels on large-format white paper. I haven’t handled NuPastels in many years and they were very blocky and hard to blend, but eventually I got the hang of it and something good started to emerge. Not sure if I will bother finishing this one – I rather like where it is right now.
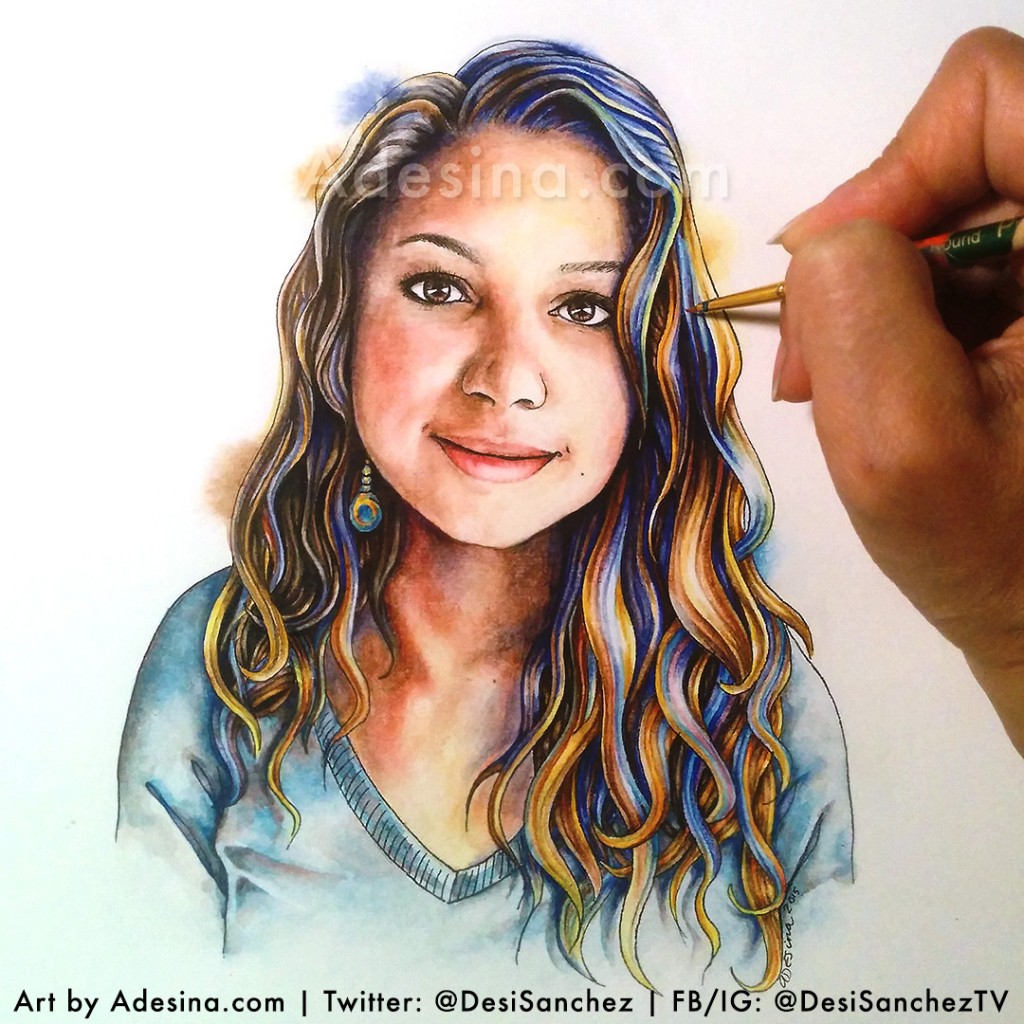
This is my first time combining pen and watercolor, and it was such a pleasure! I definitely think I will work on this technique some more and see how far I can push the contrast between the two mediums. And of course, love stylizing the hair – there’s something I really like developing there as well. So glad the buyer likes it – hope you all do too!