It doesn’t matter if you’re a creative professional who likes working on your own schedule, or a nine to fiver managing highly confidential client accounts; burnouts are a thing! When it comes to artists and creative folk in particular, burnout is sometimes related to a lack of inspiration.
Personally I’ve felt burned out on numerous occasions in my career and have found that there are things we can do to re-inspire ourselves and get those creative juices flowing again. I’m going to share some of those with you here over the course of this blog. Bonus: This is really two blog posts in one, because at the end, I’ll share one final way to stay creative (making prints), that will add a new facet to your art business in the process!
Inspiration for an artist is where all the beautiful and captivating work springs from. Without it, creating becomes a lot harder, if near impossible. How does one overcome the feeling of burnout and proceed to re-inspire? Here are some tips that can help.
At times, amidst a burnout, you might have a fleeting idea when you least expect it. At these times you would probably wish you had your art supplies or tools close by. Well, why can’t you? Keep your basic supplies close at hand. Even when on the go, carry a sketchbook or moleskin. This way, you can catch that fleeting inspiration when it comes and build on it later!
As many artists would know, there are times when a process has you studio-bound for days, if not weeks on end. This is all well and good, however if the walls of your studio start closing in and your feel inspirationally dry ? Get out! Immerse yourself in some spontaneous activity. Hit the city center, go get yourself some ice cream, talk to a stranger. Basically, live a little. Life is full of inspiration and there is no telling where it might come from!
 Artist sitting on the floor with their brushes
At times as artists, we get a little caught up in our technique and pursuing perfection. The trouble with this, is that at times we can become self critical to the point of stagnation. If this is the case with you, and you find yourself shooting down your own work before you even begin, lighten up. Take out your paints or whatever medium you use, and make a mess — on purpose! Have at it. Get the clutter out, and the good ideas will surely flow!
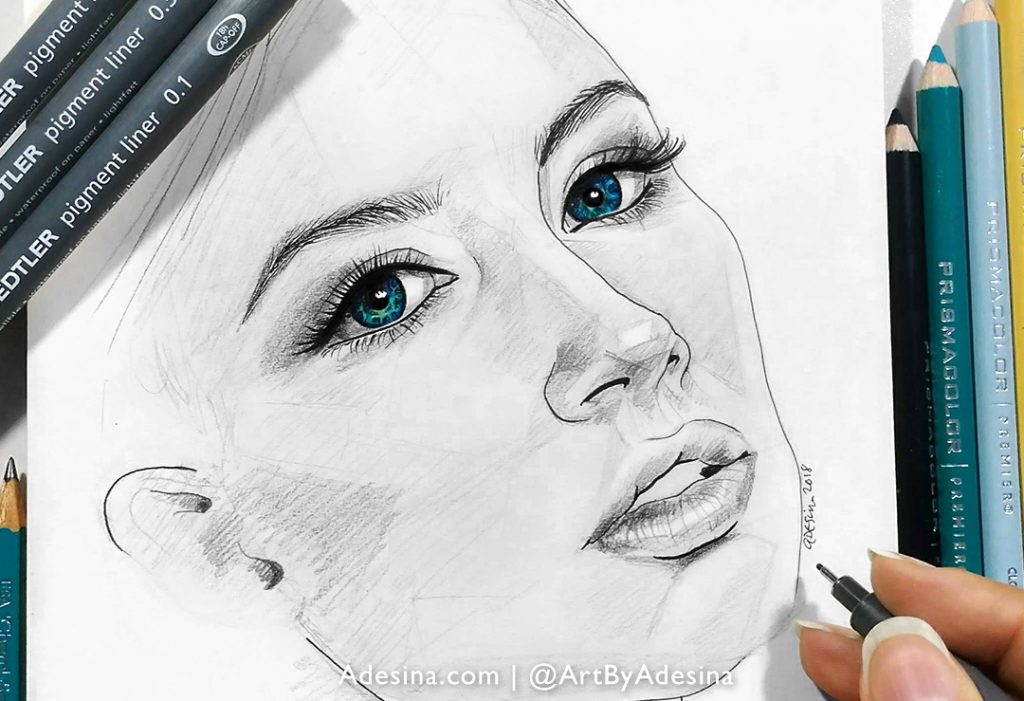
If you’re feeling a little tired of the medium you’re working with, shake things up a bit! Try out another medium or even another art form entirely. Your mind is vast and there will likely be more ways than one to re-spark your creativity. I like to rotate entirely different mediums on a regular basis: ceramic sculpture on day, oil painting the next, and then a quick pencil sketch on the weekend — like this one below, that I drew recently!
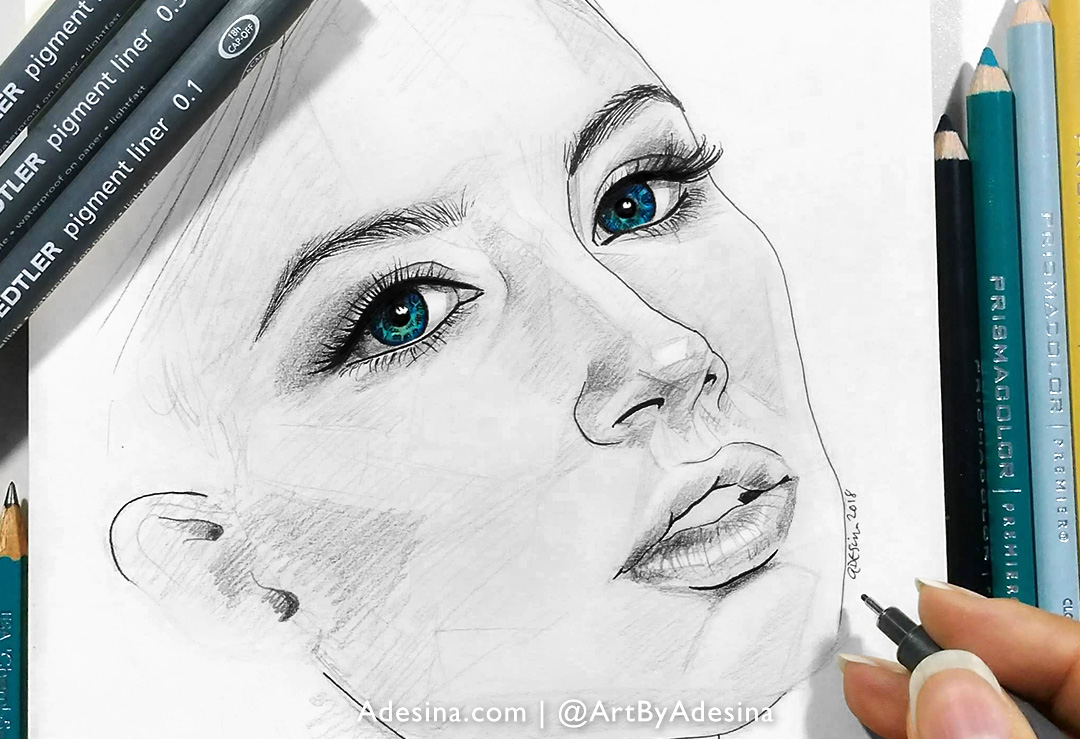 Artist Adesina sketches a young woman with sea green eyes.
Observing and taking in other works of art is actually quite inspiring. You might have heard of artistic responses. An artistic response is work done by one artists inspired by the work of another. If you feel you’re running short on inspiration, visit some of the local galleries or connect with other artists to view their work.
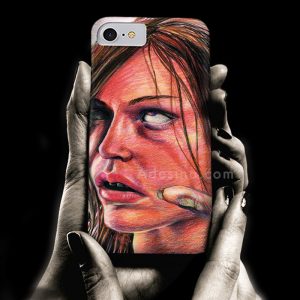
You can even look for original artwork for sale, (or prints if you’re on a budget), that you can put up in your own studio, and surround yourself with art to inspire and uplift you! My skull framed art prints (see below) are among my most popular pieces with my fellow artists. And if you’re local, there’s always a lot of brilliant artwork for sale in NY that you could check out and possibly use to re-inspire yourself. I recommend hitting up the galleries down in Chelsea, and once you’ve found something you like, you can wrap up your afternoon with a stroll down the Highline — a perfect close to an inspiring day!
Skull, Poster-size original skull art by Artist Adesina | Buy a Print
Still can’t find that spark of inspiration to create something new? Well, why not re-invent something old? Creating prints out of your favorite pieces of art is a great way to stay productive & creative, without the pressure of having to make new work. And if you plan to eventually license your work for products, a lot of the steps you must undertake to make prints, will help you with that as well.
First, depending on the size & shape of the piece & the size of the prints you want, you’ll have to decide if you want to scan or photograph your work.
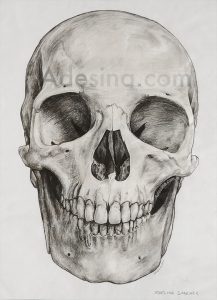
Very large pieces, and pieces that have 3D elements, might work out better with photography. Make sure you have good (sunlight or artificial light that is daylight temperature), even lighting, and that there is no glare on your artwork if it’s shiny. When I was creating my skull framed art prints, for example (see below), the graphite was super shiny on camera, and although that was ok for displaying the original piece on my web site, I knew that it would be terrible for prints. So I had to re-take the photo, using indirect lighting that came from several angles: diffuse lighting from a set of large windows in front, and three daylight-temperature photography lights positioned around the room, which I pointed away from the drawing, and bounced off the ceiling and walls. It was quite a setup, but it was really worth it, and saved me so much time later in Photoshop.
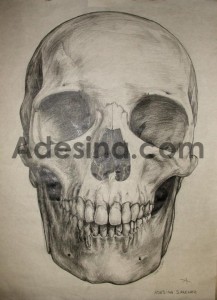
Moodily lit photo of Adesina’s original Skull drawing 🙂 — Too much shine for prints!
For photos, also make sure that you are using a good, high-resolution camera; a DSLR is great. Plus, be sure that you are using a lens that minimizes distortion. I personally have an 85mm lens that works well for just about all my medium to large works. I also recommend a tripod, so that your shots are crisp and clear.
For smaller pieces, you should scan them in with a high-resolution scanner (600 dpi or more) that is equipped to handle details. Epson and Canon make excellent scanners that last a long time and have great color fidelity. Alternatively, you can take your work to be scanned commercially, but be prepared to pay for quality. I find that in the long run, it makes more sense to invest in a good quality scanner, than to constantly have to outsource your scanning.
Whether you scan or photograph your work, you should still adjust the images afterward in Photoshop. If you don’t have Photoshop, there are a few other programs that might work, however Adobe PS really is the industry standard and makes this work infinitely easier. I believe a subscription is under $10/month at present for the program, although you should double-check before signing up.
Put your artwork in front of you, and compare it to the image on your computer. Do they match up? For photos, pay special attention to the proportions of the image: are the edges straight? Is the image stretched horizontally or vertically, or are the proportions correct? Use guidelines to help you line things up, and turn on rulers so you can measure. For scans, you may have had to assemble multiple scans into one image using Auto Blend; if so, did the merged result come out correctly, or are there tweaks that you need to make where the layers come together?
Next, look at color. Again, make sure you are looking at your original art in good, even, daylight-temperature lighting, and compare it to what you see on the screen. Do the colors match? Instead of editing the actual pixels, use Adjustment Layers like Hue/Saturation, and Curves, to alter the colors of your work. This way you don’t damage any pixels and can easily reverse any changes you don’t like. Also utilize masks and channels if there are only certain parts, or certain colors, that you want to change. Again, this is preferable over chopping up the actual pixel layers, because a mask is easily removed, and also results in a smaller file when you save the PSD.
Finally, you may need to sharpen your image before printing. Again, you must use your artist’s eye to determine if this step is necessary, but if it is, I recommend using the Smart Sharpen filter; and, if the image is not too big, I also like converting a flattened layer of the finished image into a Smart Layer first and THEN applying the filter. This last step enables you to continue to adjust or remove the filter after applying it.
After you are satisfied with how your digital copy looks, you will have to export a flat copy to print. What format you want to use, depends on what service you will print with. If you are doing professional, limited edition giclee prints, I recommend being in direct contact with the print shop and even sending them the PSD file, to make sure they have exactly what they need. For print on demand services like Zazzle or Fine Art America, check their guidelines on their web site, to see what size and format they need.
Some popular formats for art prints are: Jpeg, Tiff, PDF, EPS.
In the past, print files were usually CMYK, but nowadays, some print services are requesting RGB images, that are normally only reserved for on-screen use. Again, check with the print service you are using, for their requirements.
If you have a good printer at home and are printing yourself, then you might want to experiment to see what gives you the best results. First, check your printer’s instructions to see any recommendations the manufacturer may have regarding art prints, and the type of paper you are using. Secondary to that, in my experience 8 bit Tiff files, at 300 dpi, CMYK, have looked best on my own personal printers.
Once you have exported a flattened version of your image, you’re all set to go! Print it out, or send it to your print service. And of course, don’t forget to update your web site with your new offering! Congrats, you now sell prints :).
There are many other ways for you to get re-inspired. It’s really about getting out there and figuring out what works for you best! As an artist; true inspiration is really within you, it’s just a matter of finding out what helps you connect with it.
Found this article helpful? Then share it using the sharing tools below. Or leave a comment and let me know what tips you are going to use to get your creative juices flowing, or if you have any questions. I love to help my fellow artists succeed!
Be well,
Adesina <3